Introduction
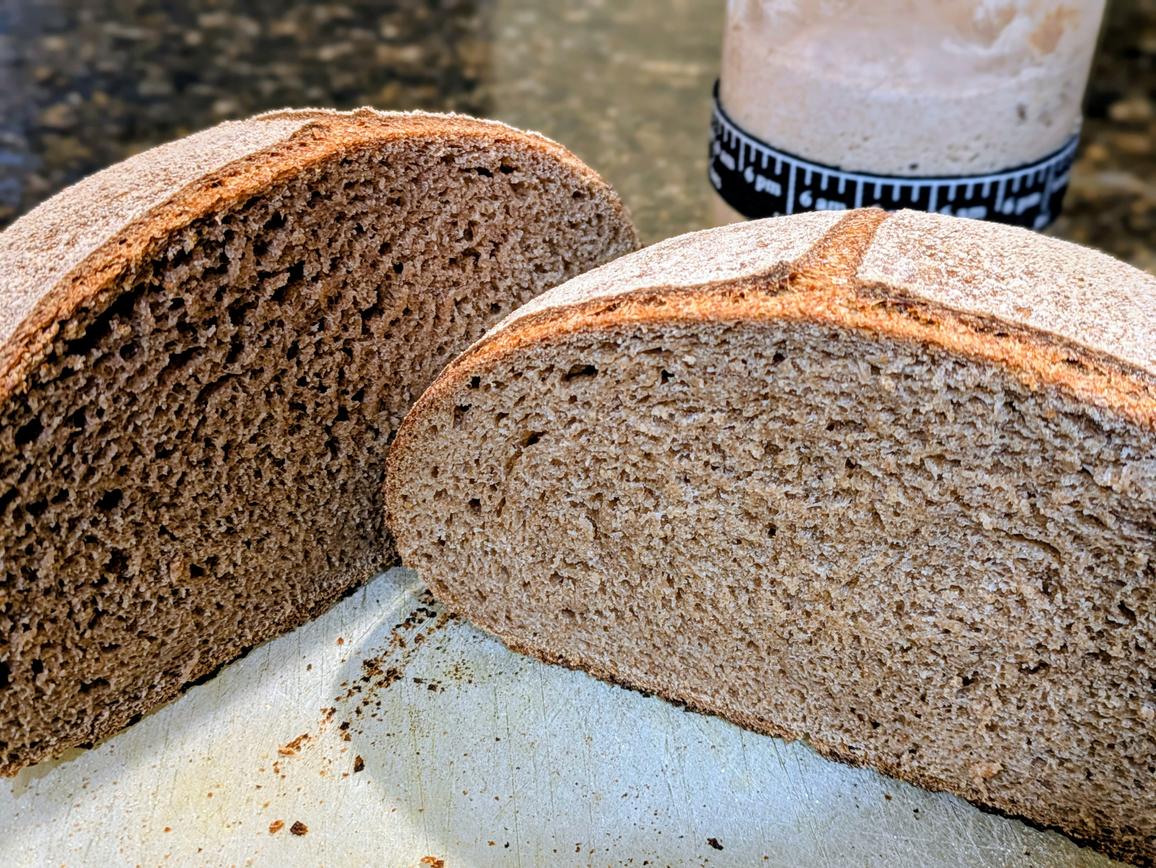
Sourdough is possibly the healthiest wheat based bread out there. Instead of adding in yeast, sourdough relies on a starter, growing your own yeast to leaven the bread. This fermented bread has a slightly sour taste, hence the name.
Table of Contents
- Introduction
- The Benefits of Sourdough
- White vs Whole Wheat Flour
- Making the Starter
- How Much to Discard?
- Going Forward
- Whole Wheat Sourdough Bread Recipe
- Nutrition Facts
- Sources
The Benefits of Sourdough
The fermentation process not only lowers the glycemic index of the bread, but it also breaks down the gluten, making it more digestible for those with a mild gluten intolerance (though definitely not safe for those with Celiac disease).
Moreover, the production of lactic acid results in antioxidants that help fight off inflammation. Being slightly fermented, sourdough bread acts as a prebiotic, and this may promote healthy digestion.

White vs Whole Wheat Flour
My main problem with most sourdough breads is that they're made out of white flour. White flour just contains the empty starchy endosperm of the wheat grain, and none of the bran or germ. The bran contains the fiber, and the germ has healthy fats, B vitamins, and vitamin E. This means that white flour has none of the fiber, vitamins, or minerals found in the whole wheat kernel. So instead, here I will go through a week long guide to create your own sourdough starter out of whole wheat flour.

Making the Starter
Day 1
- 1/2 cup (60 g) Whole wheat flour
- 1/4 cup (60 g) Water
The whole processes of creating your starter will take about 1 week. On day 1, mix together whole wheat flour and water in a your starter jar with a silicone spatula. Cover with a loose lid or towel, and let rest on the counter for 24 hours.
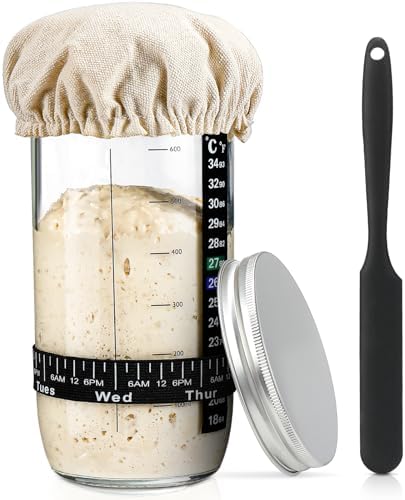
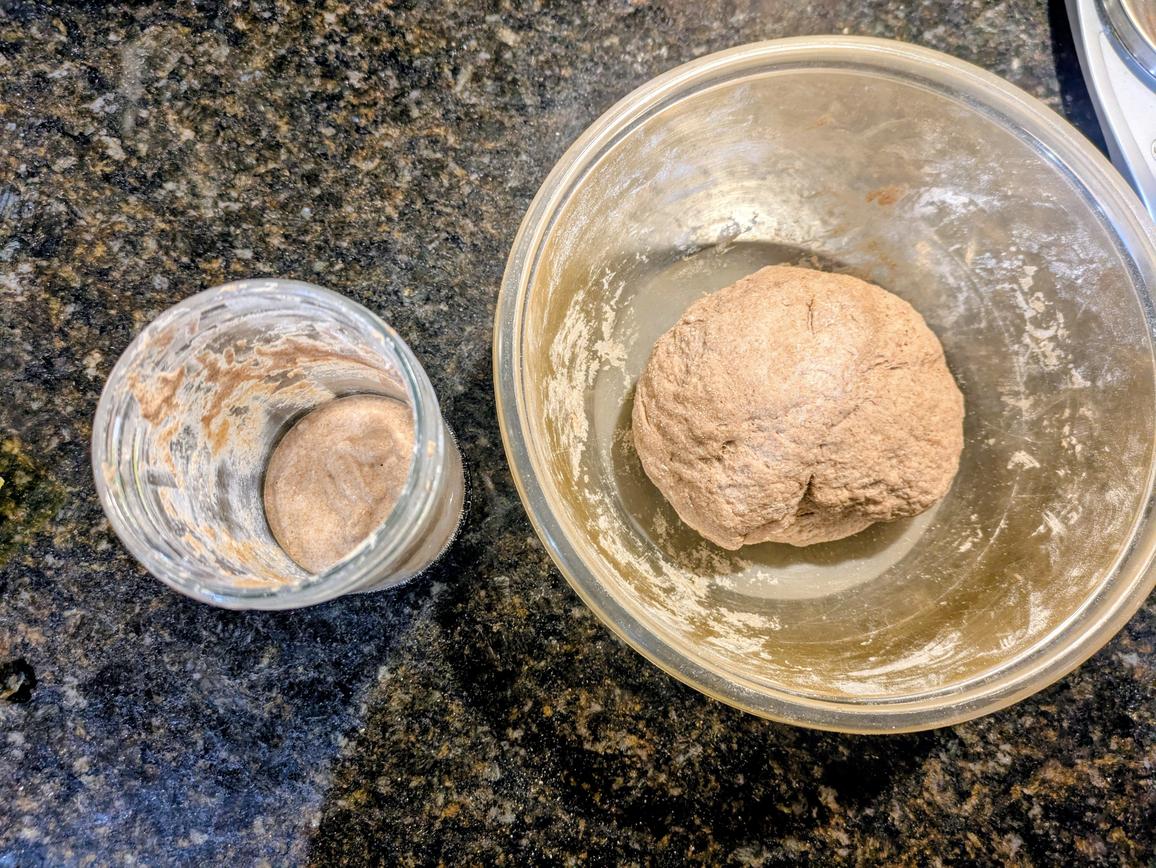
It may help to note down the empty weight of your container, that way you know exactly how much your sourdough weighs each day. This is the jar that I use for my starter, but you can also just use a bowl with a lid if you prefer.
Day 2
Discard half of the mixture, then repeat the day 1 step by mixing in the same amount of flour and water. Cover and let rest on the counter for another 24 hours.
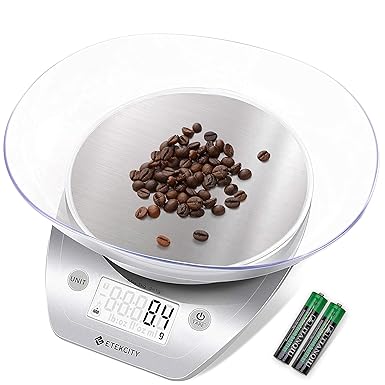
The easiest way to discard half the mixture is to use a kitchen scale. Place the jar on the scale and zero it. Now, when you scoop out, the weight will be in negatives. Scoop out starter until you reach the desired number (see the table below).
Days 3-5
For days 3, 4, and 5, repeat the steps of day 2. Discard half the mix, add in the flour and water, mix, cover, and let sit on the counter for 24 hours.
Days 6-7
Do the same as days 2-5, except you should now feed the sourdough every 12 hours, instead of every 24 hours.
Day 8
After a week, you should start seeing some signs of activity in your homemade starter. Things to look for include bubble foam on the top, bubbling throughout the mix, and if the mix roughly doubled in size.
What you want is for your starter to have consistently doubled in size after 2 days of 24 hour feeds (days 4 & 5), and 2 days of 12 hour feeds (days 6 & 7). If you see these signs, your starter is ready to use! If not, continue the same feeding process for a few more days until you see activity.
How Much to Discard?
While creating the starter, every day you will discard half of the mixture, and add in more flour and water. On day 1, you start with 120 g total of starter (60 g of flour + 60 g of water).
On day 2, you discard half (60 g), and add in another 120 g (60 g flour + 60 g water), resulting in 180 g of starter. Continuing this process, the table below shows how much starter you will have each day, and how much you will be discarding.
| Day | Total Starter (g) | Discarded (g) |
|---|---|---|
| Day 1 | 120 | 0 |
| Day 2 | 180 | 60 |
| Day 3 | 210 | 90 |
| Day 4 | 225 | 105 |
| Day 5 | 233 | 113 |
| Day 6 Part 1 |
236 | 116 |
| Day 6 Part 2 |
238 | 118 |
| Day 7 Part 1 |
239 | 119 |
| Day 7 Part 2 |
240 | 120 |
| Beyond | 240 | 120 |
As you can see, the amount of starter increases each day, starting at 120 g. By day 7, it will stabilize at 240 g. This is the amount you will maintain going forward.
Going Forward
From here on out, your sourdough starter is good to use in bread, or any other recipes you can think of. Store your jar of leftover starter with an airtight lid in the fridge.
When stored in the fridge, feed the starter every 1-2 weeks. Discard half (120 g), and add in 60 g (1/2 cup) of whole wheat flour and 60 g (1/4 cup) of water. Mix well, cover, and let sit on the counter for 1 hour before returning to the fridge.
When you want to bake a loaf, it is recommended to take the starter out of the fridge, and give it the standard feeding as if it were day 3. For the next 2 days, continue feeding it every 24 hours, followed by 2 days of feeding every 12 hours. On the 5th day, you can use it in your bread recipe.
Whole Wheat Sourdough Bread Recipe
As sourdough takes some good timing, I will provide approximate times of the day to perform each step so it's easier to follow along.
Monday - 8:00 pm
Take your starter out of the fridge, give it the standard feeding, cover with a loose lid, and let rest on the counter for 24 hours.
Tuesday - 8:00 pm
Repeat your feeding cycle, and let rest on the counter for 24 hours.
Wednesday - 8:00 pm
Repeat your feeding cycle, and let rest on the counter for 12 hours.
Thursday - 8:00 am
Repeat your feeding cycle, and let rest on the counter for 12 hours.
Thursday - 8:00 pm
Repeat your feeding cycle, and let rest on the counter for 12 hours.
Friday - 8:00 am
Repeat your feeding cycle, and let rest on the counter for 12 hours.
Friday - 8:00 pm
Repeat your feeding cycle, and let rest on the counter for 12 hours.
Saturday - 8:00 am
Feed your sourdough starter again, saving the discard, and let it rest on the counter for an hour with a loose lid.
- 3 cup (360 g) Whole wheat flour
- 2/3 cup (80 g) Vital wheat gluten
- 1/2 tbsp (9 g) Salt
- 1 1/4 cup (300 g) Water
- 1/2 cup (120 g) Sourdough starter
Saturday - 9:30 am
Put an airtight lid on your starter jar, and return to the fridge.
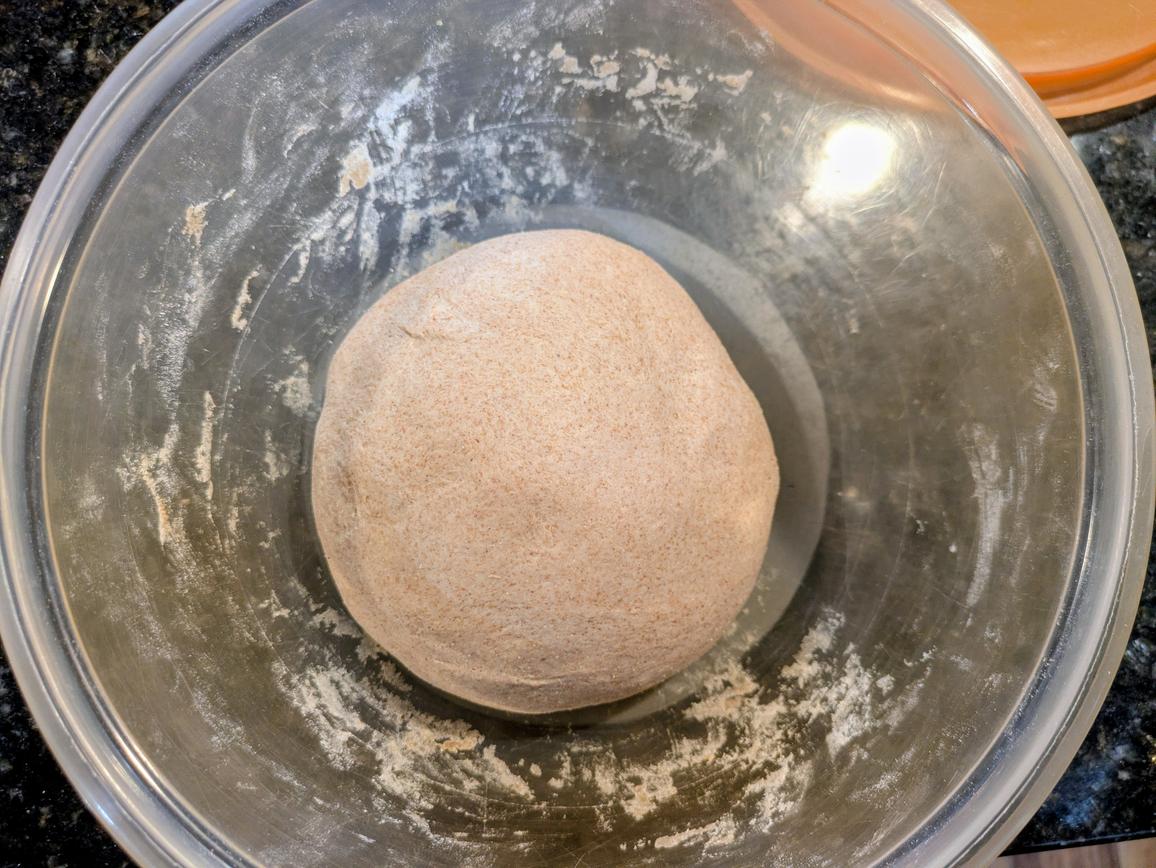
Now we're up to the stretch and fold step. Lift up one side of the dough about 6 inches, and fold over to the other side. Rotate 90 degrees, and repeat 4-8 times. Roll into a tight ball with a smooth top, and place back in the bowl seam side down. Cover and let rest for 15 minutes.
Saturday - 9:45 am
Repeat the stretch and fold step, cover, and rest for 15 minutes.
Saturday - 10:00 am
Repeat the stretch and fold step, cover, and rest for 15 minutes.
Saturday - 10:15 am
Repeat the stretch and fold step, cover, and rest for 15 minutes.
Saturday - 10:30 am
Repeat the stretch and fold step, cover, but this time rest the dough for 30 minutes.
Saturday - 11:00 am
Repeat the stretch and fold step, cover, and rest for 30 minutes.
Saturday - 11:30 am
Repeat the stretch and fold step, cover, and rest for 30 minutes.
Saturday - 12:00 pm
Perform one final stretch and fold. You should have a smooth and elastic dough.
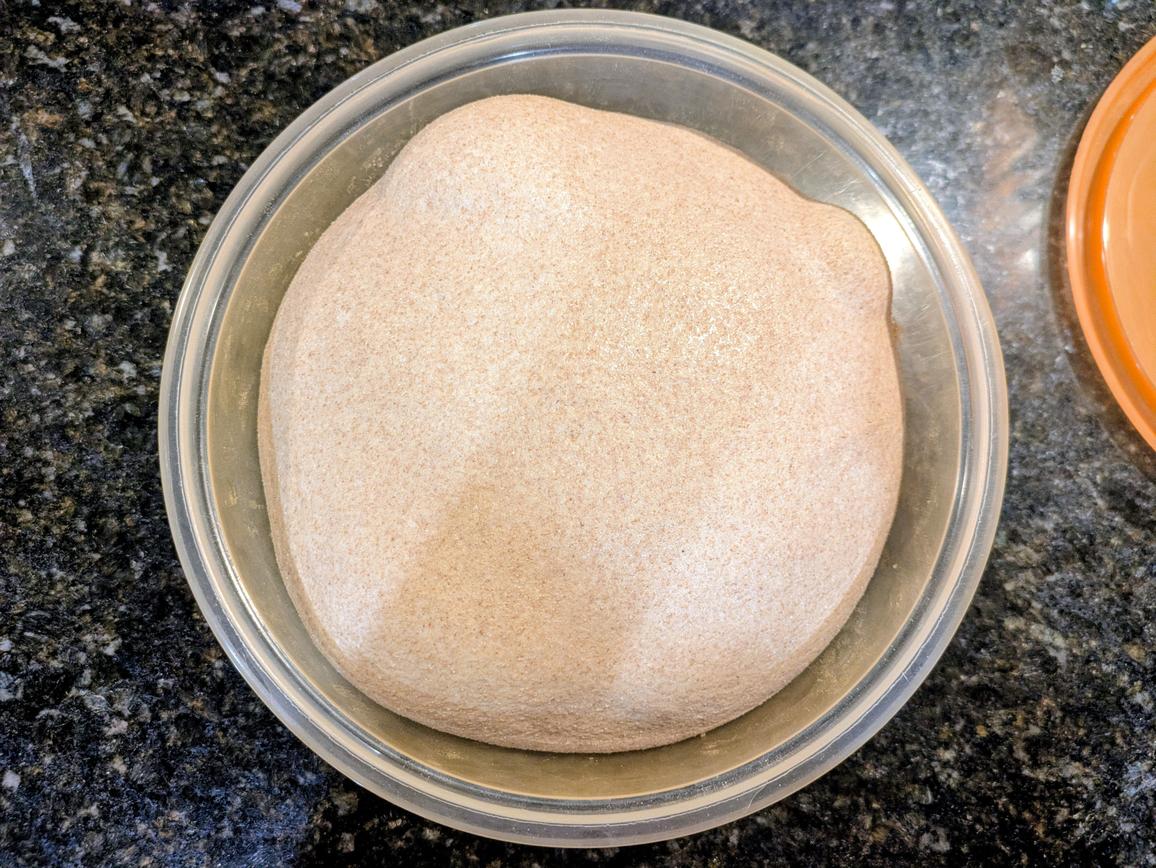
Cover your bowl, and let the dough ferment in a warm place. I will place the dough in the microwave, and let it rest for about 8 hours. It should have roughly doubled in size.
Saturday - 8:00 pm
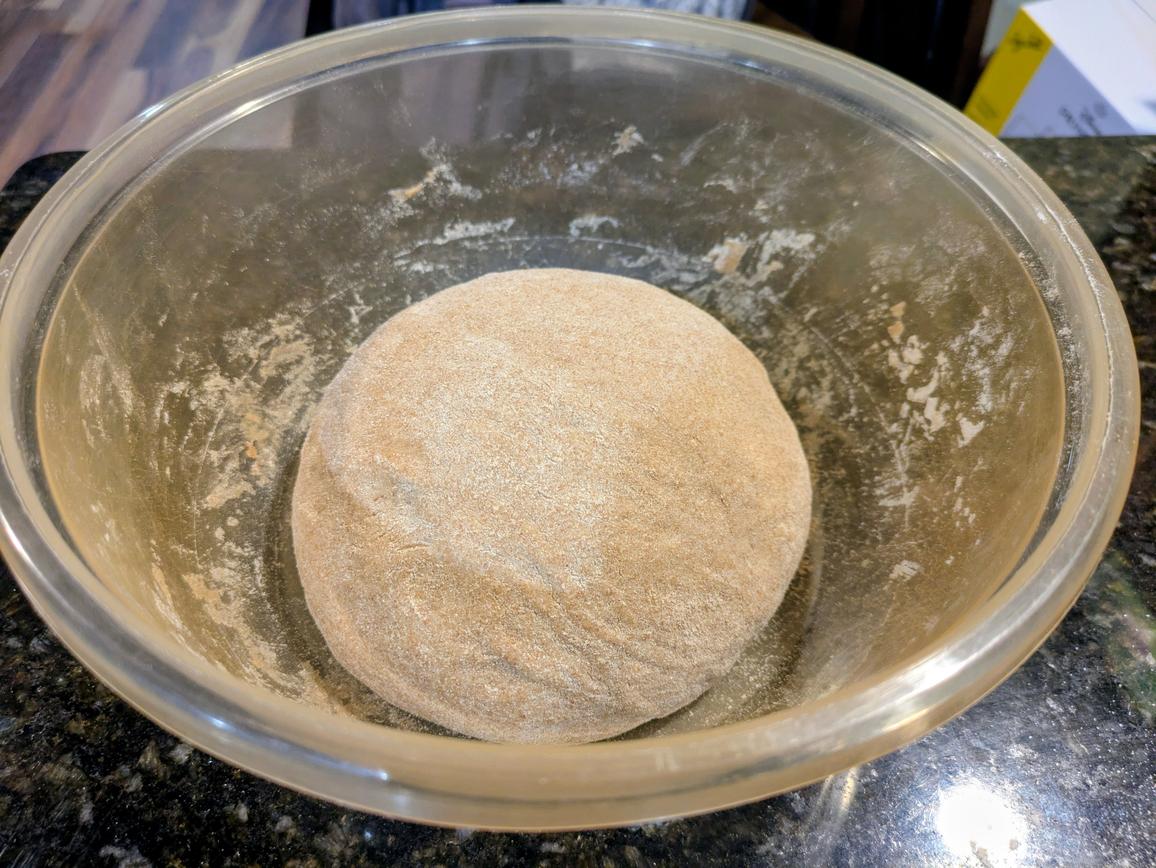
Invert your dough onto a clean countertop, and shape into a tight ball by gently spinning towards you. For a more detailed guide, I will link some video sources at the end of the post. Let the dough rest on the counter (uncovered) for 15 minutes.
Saturday - 8:30 pm
Shape the dough again into a ball. Lightly flour your bowl, and add the dough back to the bowl. Cover and refrigerate for at least 12-24 hours, and up to a week.
Sunday - 8:30 am
When ready to bake (after at least a 12-24 hour rest), place a large Dutch oven in the oven (covered), and set the temperature to 500F. Preheat for 1 hour
Sunday - 9:30 am
When the oven is preheated, remove the dough from the bowl, and place it seam side down onto a piece of parchment paper or silicone bread sling.
Sunday - 9:35 am
Dust the top of the dough with flour, and score the top with a razor blade into a plus sign.
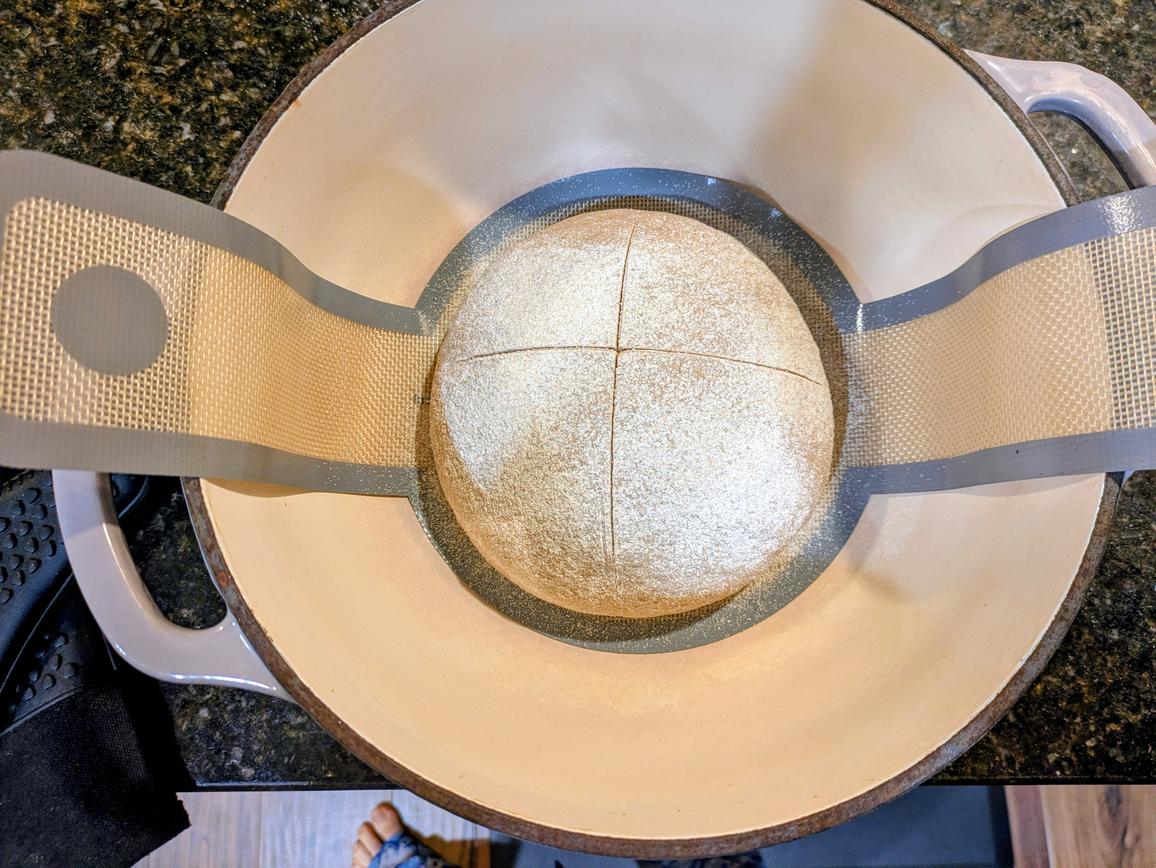
Sunday - 9:40 am
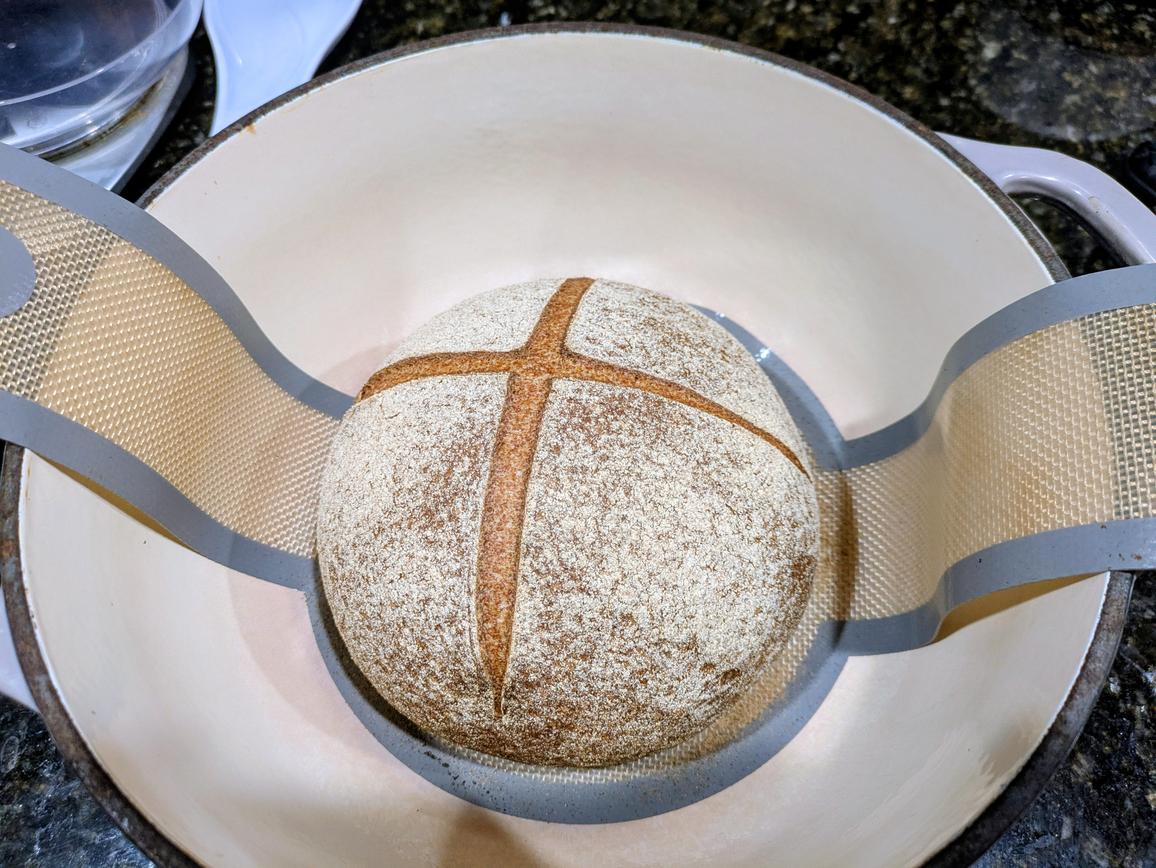
Carefully place the parchment paper (or bread sling) into the Dutch oven.
Sunday - 9:45 am
Cover with a lid, and bake for 20 minutes. Remove the lid, and bake for an additional 20 minutes.
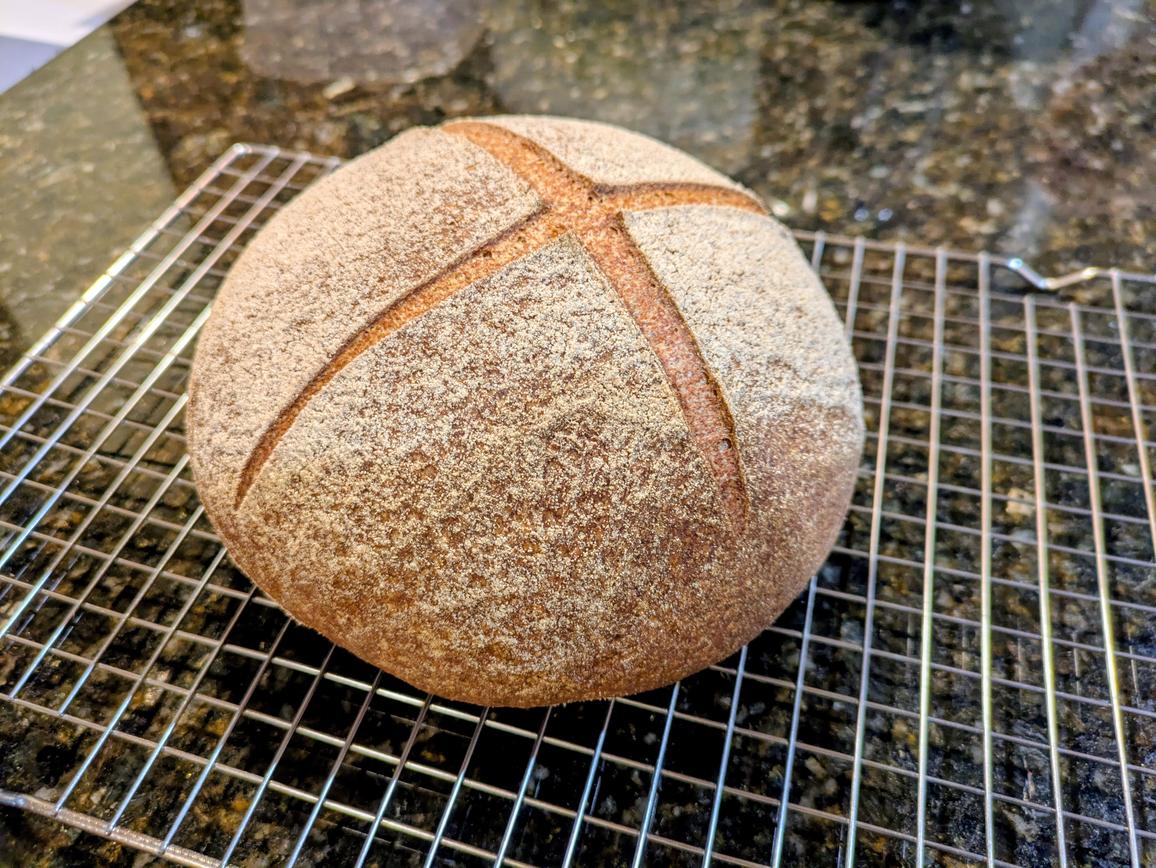
Sunday - 10:30 am
Remove the bread from the oven, and transfer to a wire rack in the fridge (uncovered) to cool for at least an hour.
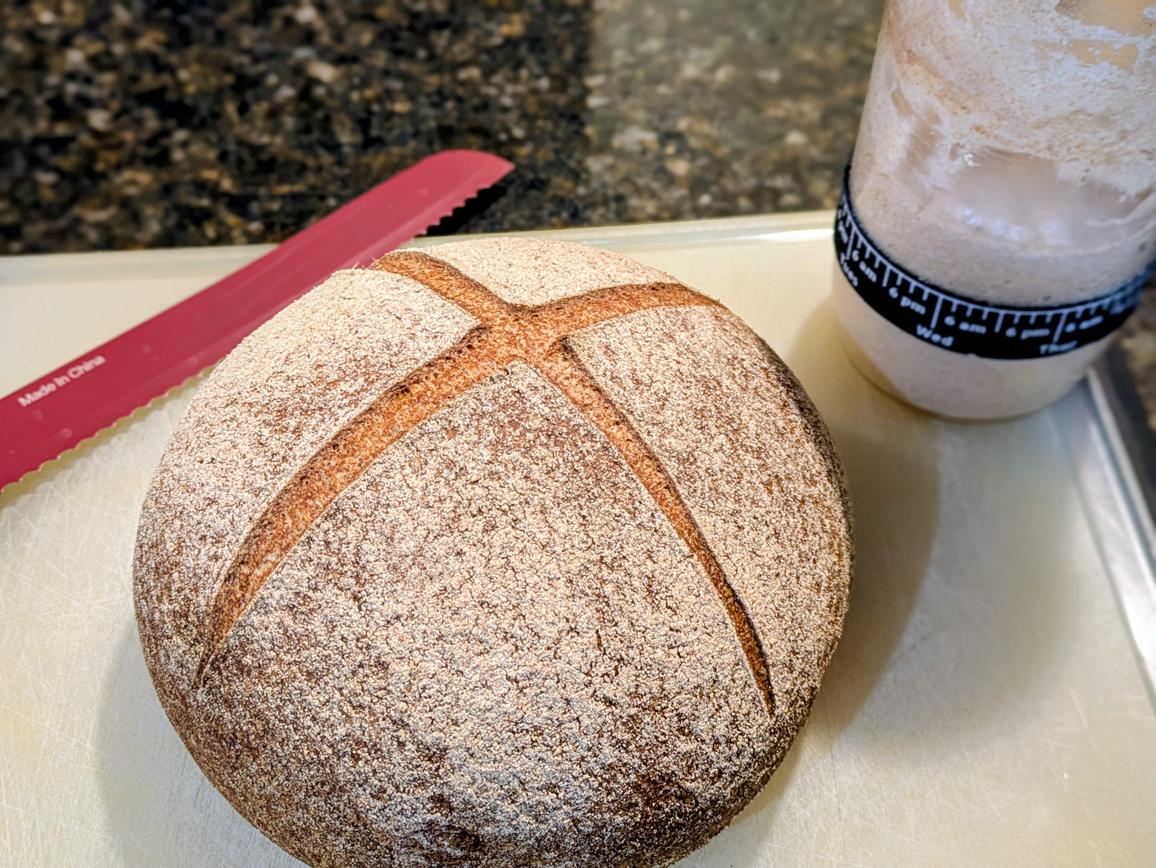
Sunday - 11:30 pm
Slice your bread, and store leftover pieces in an airtight bag in the freezer.
Nutrition Facts
------------------------------------------
Total Fat: 0.5g (1 %)
Sodium: 155mg (7 %)
Total Carbohydrate: 14.2g (5 %)
Fiber: 2.1g (7 %)
Net Carbs: 12.1g
Total Sugar: 0.1g
Protein: 5.3g (11 %)
Sources
This post may contain affiliate links